Monday, May 12, 2014

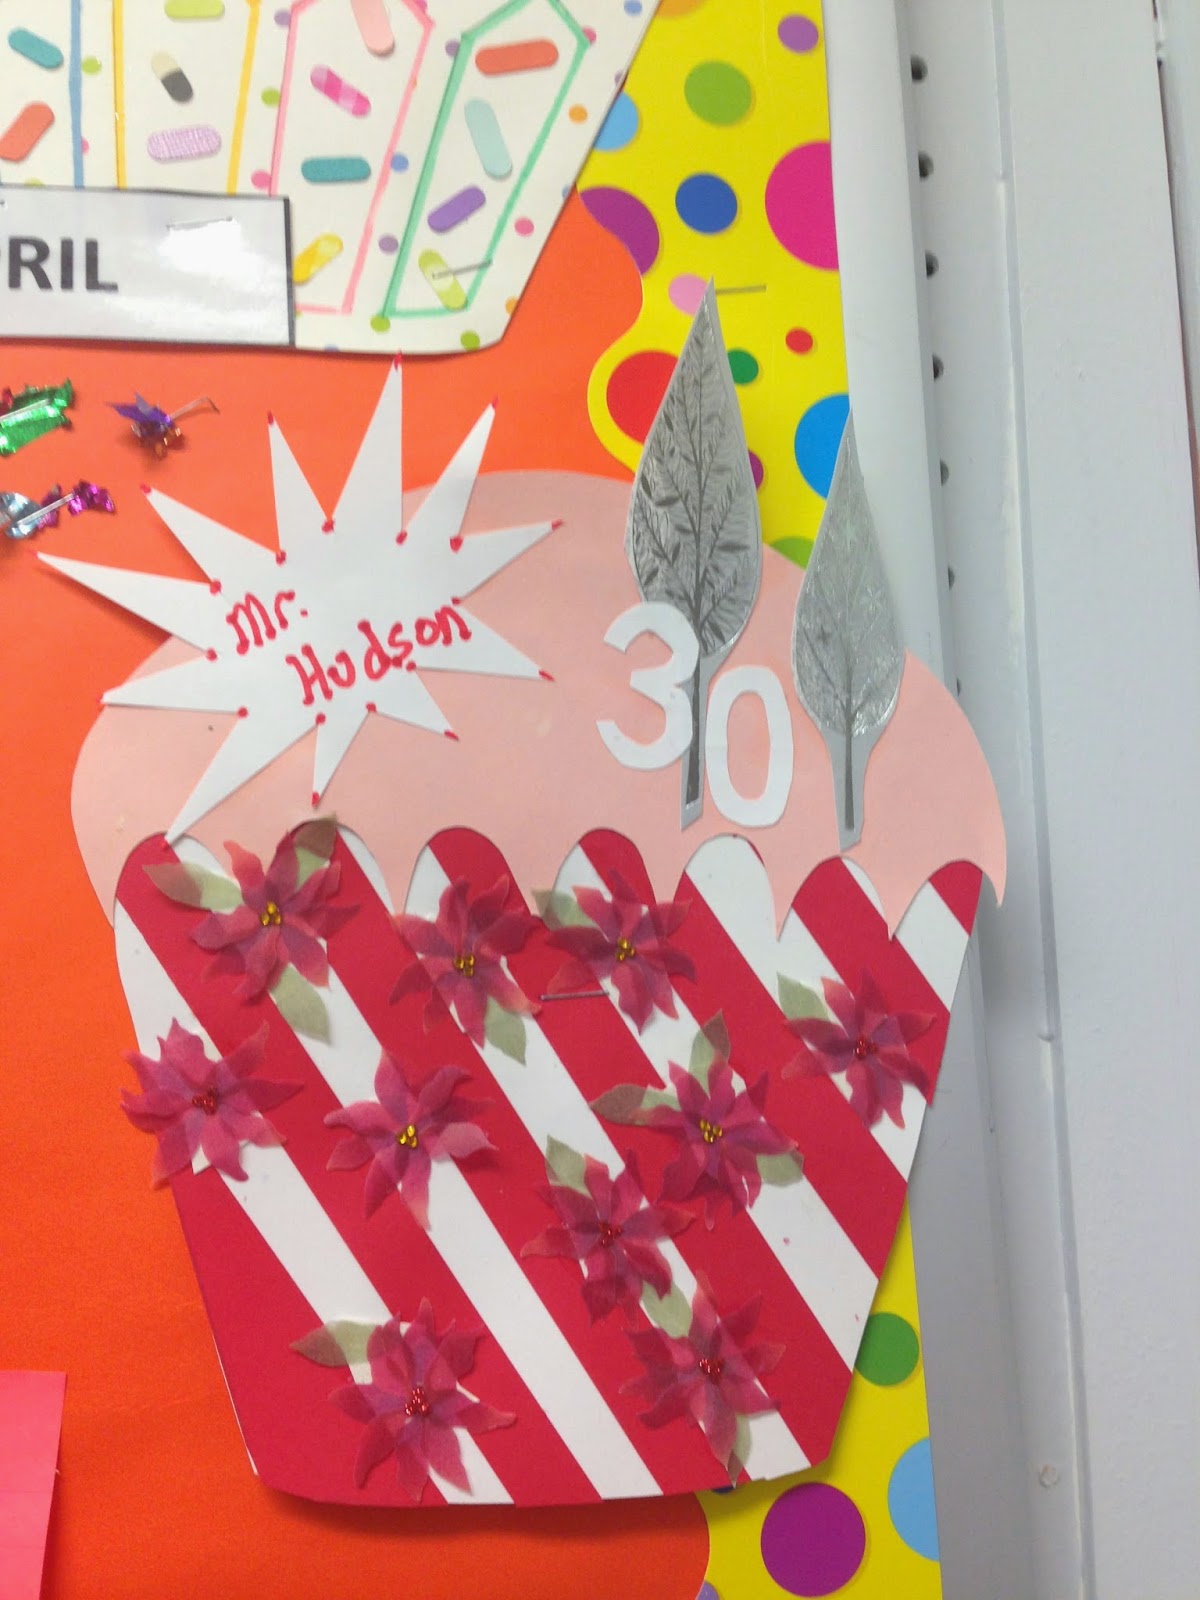
Cupcake Birthday Calendar

This is a Birthday Calendar on display at work to celebrate the staff!  It's also a model for teachers to make for their Advisory class.  I cut the cupcakes on my Cameo Silhouette, though the Paper Source (I learned later) makes a cupcake garland that could easily be used for such a project.  Everyone got to decorate their own cupcake in their own way!  I provided some doodads and other decorative features.


Sunday, May 11, 2014

A Floral Mother's Day


Firstly, it has been so lovely with the Spring flowers blooming, that I definitely wanted to capitalize on that to celebrate Mother's Day.  I used flowers as a theme for a Mother's Day brunch with my mother and grandmother.  For the invitation, I cut the flowers using my Cameo Silhouette: 


In keeping with the flower theme, I decided that the "piece de resistance" of brunch would be a cake covered in flowers.  I decided to experiment with fondant (this was my first time). It was a lot of fun and now that I got my hands dirty, I'm not as afraid to use it and I know the basics.  I decided to go with bright, bold colors, like the colors of the flowers I have seen in the pictures above.  

The first step was dying the white fondant.  I dyed it an array of garden-flower colors: 


I then used fondant cutters (like cookie cutters) to cut out various flowers.  I also experimented and made some roses.  I did this several days early, put the flowers in a cardboard box and placed them in a dark space to store them.  This way they were out of the light so the bold colors did not fade.  Before placing the heavier flowers in the box, where they would harden over the next few days, I put several toothpicks into the flowers while they were soft so that I could easily stick them into the cake when my cake was baked.  

I then baked the cake.  I used a round cake pan that basically allows you to bake a cake in the shape of a ball. When it was cool, I cut it into four layers and used buttercream to ice the layers together.  I then iced the entire cake with buttercream.  

It was then time to apply the fondant  

I dyed a whole mess of fondant "buttercup yellow."  You dye fondant by taking a toothpick and sticking it in the dye, you then pierce the fondant in various locations to get the dye in there.  Then you use your hands to knead it until all the fondant turns the desired color.  At this point the fondant gets really tacky, like salt water taffy.  After I was done, I "floured" the fondant and my rolling pin with confectioners sugar and rolled it all out.  I then picked up the sheet to cover the cake.  It goes on pretty smoothy.  I then cut around the bottom of the cake and tucked the fondant as far under as possible. 

I made a batch of Royale Icing and dyed it "Kelly Green."  I decided to use the Royale Icing to affix the flowers, but also to pipe vines and maybe leaves around the cake.  Since the cake was round, it was really important to affix flowers on there with something strong so they wouldn't slide down the side of the ball.  

Decorating the cake with flowers was probably the most fun part!  I really loved the roses that I made.  I have a package of gum paste and I would be interested to see how that's different to work with.  I feel like it might make more delicate flowers. 

Anyway, here is the final result... let's see what happens next time!


"I Wuff You" Acryllic on Canvas


I made this acryllic on canvas for my grandma. I love black and white dogs and have sort of dreamed about drawing black and white dogs on different bright colored backgrounds, maybe doing different things.  Haha... so this is a start ;).  Woof Woof.

Holiday and Birthday Garlands!


So this door sign (above) was from the holidays (obviously I'm late to post), but you can really make a sign like this for any occasion or non-occasion to Welcome people to your door.

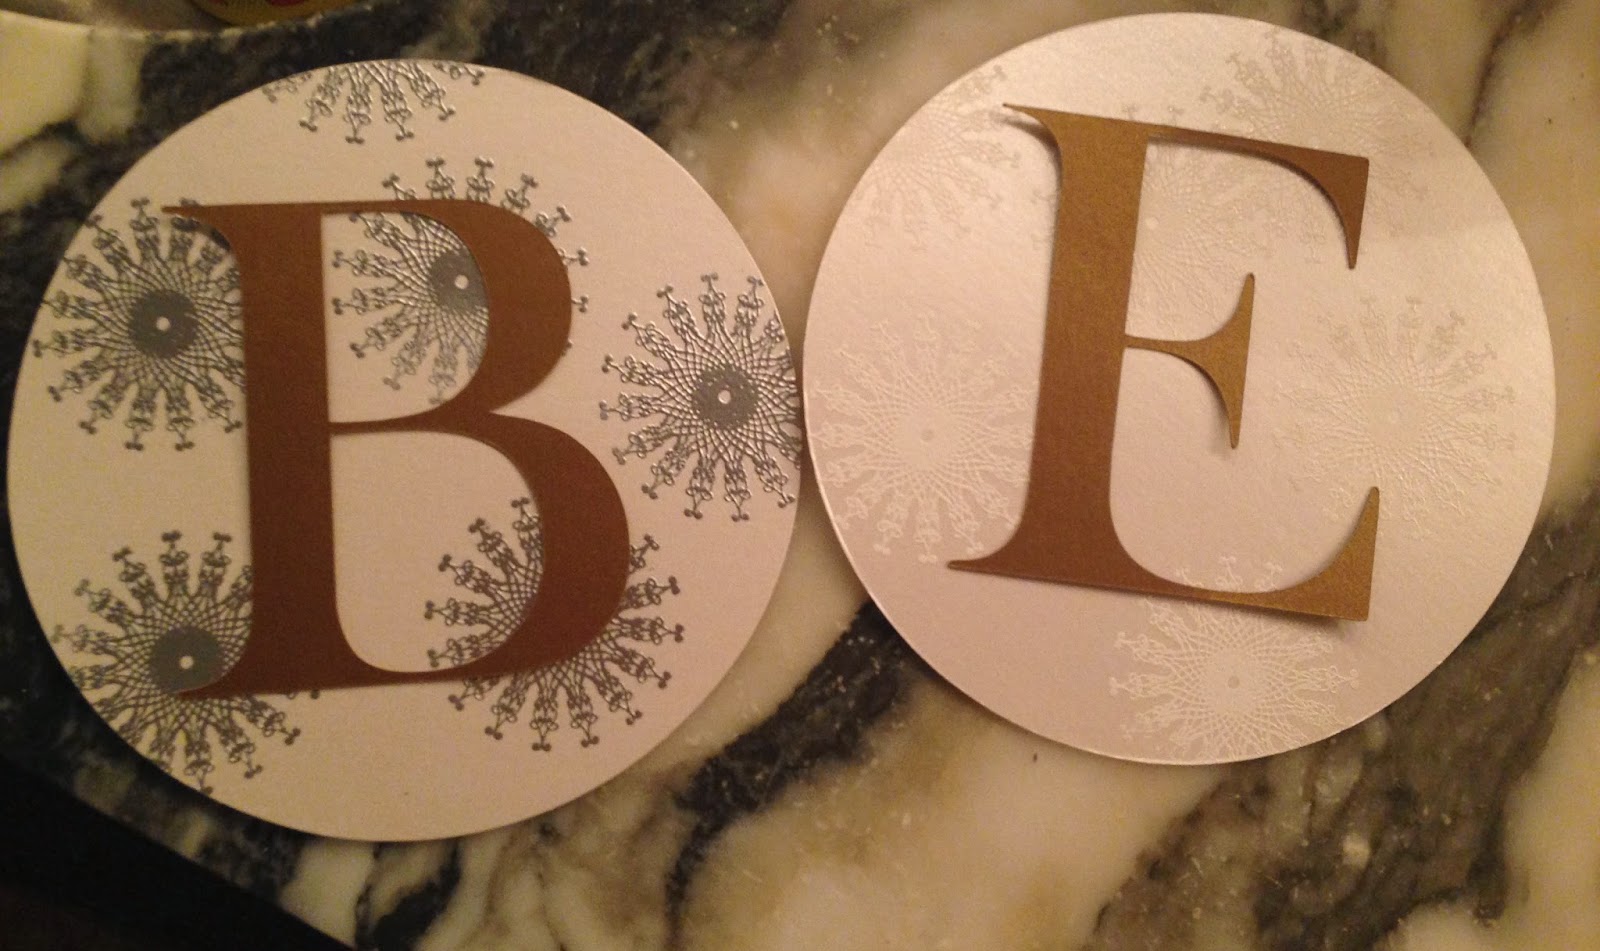
For this project, I used all Paper Source materials from paper to stamps to glittery Christmas trees (these are clothespins in between the letters as you can see in the second picture.  They added a nice touch to the door).

I used the Cameo Silhouette to cut the letters out of gold paper.  The silver and gold looked elegant and I alternated between embossing the snowflake stamp with silver embossing powder and white embossing powder on every other letter.  I bought card stock pre-cut into circular patterns so that was something I didn't have to do.  I hole punched the tops of each letter so I could string a sparkly yarn through.  I then used clear packing tape to literally tape the yarn to the inside of the door.  When you're hanging something like this alone, it's always a fun trick to test your agility and reflexes as you weave the yarn through the crack in the door, hold it with one hand and hold the sign on the other side of the door with the other hand so the letters don't fall to the ground.

Overall, I really like having something on the door to celebrate each season.  Paper Source has amazing pre-made garlands of cupcakes, popsicle sticks, owls, acorns, leaves and many other things you wouldn't have thought about.  They also sell paper wreath-making kits, some of which are gorgeously intricate.  Though you could make and customize those yourself on the Silhouette, you have to buy a lot of paper and it's a lot of time on the machine - so I like this short cut.

Here is a link to some adorable garlands (many - like watermelon! -  perfect for the summer) : http://www.paper-source.com/cgi-bin/paper/kits/garland/all.html
And here's the link to several flowered wreaths:
http://www.paper-source.com/cgi-bin/paper/kits/flower-kits.html

This next hanging banner was made for my friend, Pam's, baby's first birthday party!  Since the theme of the party was New York, the sign is modeled after the NYC Subway markers, using those same colors and the circles they are displayed in.  (Isn't the cake with the skyline amazing?  Love!).  I also made little taxi cab and Statue of Liberty cupcake toppers, which are pictured below:


Wednesday, November 27, 2013

Make Your Own Bubble Bath


I used the recipes here:
http://www.realsimple.com/m/magazine-more/inside-magazine/ask-real-simple/ask-real-simple-make-own-bubble-bath-00000000014088/

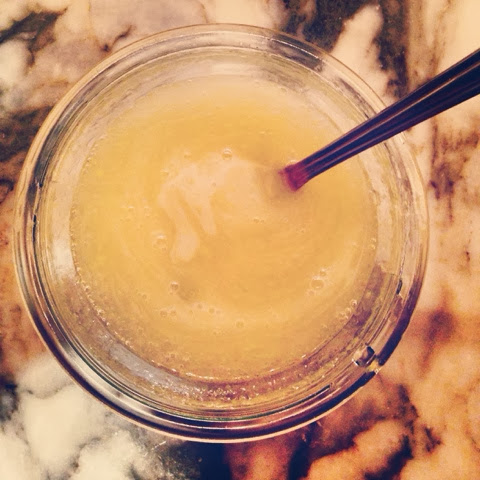
They were a starting point for me to make my own bubble bath.  Luckily I had a small travel bottle of gentle, organic liquid soap (which I had bought for the trip to Asia) which was lavender scented. I added honey, peanut oil and an egg white to make the mix.  

I added it to the running water in the bath tub.  It smelled great but there were absolutely no bubbles.  Like there were tiny bubbles for about 5 seconds and then - cricket cricket - nothing.  

The good news is the smell was great and the oil made my skin really really smooth.  Overall, I still enjoyed trying to make my own bubble bath but I would like to actually bring the bubble to life!  

Abstract Cherry Blossoms with Acrylics

1. Blank Canvass

2. Mix white, black and silver to subtlety coat canvass


3. Draw whimsical tree skeleton


4. Observe ominous warning on oil paint you won't actually use 


5-8: Paint (in thick strokes) white cherry blossoms; use modge podge to affix rhinestones to center of flowers; cut glittery leaves on cameo; generously glue leaves to picture 


9. Lay flat to dry

10. Replace unwanted wall art with abstract cherry blossoms

11. Enjoy


October Craft Night at Etsy Studio


The Etsy studio, located in Dumbo, has a free craft night once a month.  This month they had letterpressed Day of the Dead paper dolls to color (with watercolor pencils) and put together with brads.  You see my finished product above!


I wish Iived here to craft 24/7 ;)


Entrance to etsy studio!