Friday, May 23, 2014

Paper Source Peony Wreath


Above is my completed Peony Wreath which I hung on my apartment door!!!  I love the way it turned out.  When I bought the kit, I assumed this would be really simple, like a 1, 2, 3 production where I just open the bag and follow the directions and finish in an hour.  NOT SO.  The process is pretty laborious and there is a real satisfaction when you complete it.  I'll take you through the process: 

1. Purchasing the kit and taking it home.  

2. Popping out many many flowers from all of the lovely shades of pink and white paper.  The colors are called:  Strawberry, Blush, Blossom and White.  This popping out process on its own took quite a while!


3. Take a scissors and cut the flowers in between the petals.  


4.  Use a boning tool... (what???)  Yes, a boning tool, to curl all the petals of every single flower that you popped out.  Luckily, I recently purchased a cake decorating kit from Michael's.  The kit was really focused on fondant and gum paste flowers and it came with a tool (pictured below) created fur just the purpose of curling (fondant) flower petals.  It worked perfectly.  If you didn't have one of those, you could perhaps use a thin, smooth pen or some sort of wooden dowel.  Whatever you use, however, make sure it works well.  This curling process is really the crux of the wreath-making and it's important that the flowers look fresh and don't get wrinkled or deformed in the curling process.  (I saw a  model wreath at Paper Source in another design that sort of looked like it had been "through the mill."  It made me handle the flowers and petals cautiously to make an attractive wreath).  


5.  Layer the flower cut outs over one another, using double-sided tape or glue (which you must provide) to stack them.  You will also use styrofoam sticky pads (which come in the kit) to add volume to the flowers.  See the first flower I made below!!  I added decorative flower buds to all of my flowers, but these were things I had and did not come with the kit.  


Wednesday, May 21, 2014

Heart-Shaped Puzzle!


This puzzle was a really cool way to create a visual project that represents the thoughts and ideas of our entire team at school.  The poster is entitled:  "Advisory:  The Heart of Mather Culture".  Puzzle pieces were distributed to all of the teachers and each teacher wrote down their thoughts about why Advisory is at the heart of our school's culture.  

I used my Silhouette to make this project.  I cut out that puzzle in three pieces since the Silhouette only does 12x12 paper and this is probably like 24x24.  FIrst I cut out the red puzzle pieces and then I cut the same things out again on pink paper so that the outline of the puzzle popped.  I had to overlap the pink to get it in line, then glue it down and cut off the excess.  Hopefully that makes sense.  I don't have pictures to demonstrate what I mean.  At our school retreat, we filled in the puzzle pieces and then taped them onto the puzzle.  After the retreat, I glued them all down and then laminated the entire puzzle and put it on display!  

Sunday, May 18, 2014

"Juicy Reading" Bookmark


With summer coming and after seeing the amazing garlands available at PaperSource, I was inspired to make this "Juicy Reading" bookmark for all the juicy books I'm planning to read this summer.  

Here is the process I went through to make it.  I cut out larger green circles, medium sized white circles and smaller pink circles: 


I glued them on top of each other and then covered the pink circle with black "seeds," which I also cut out on my Silhouette.  


After I had the circles, I cut them in half to make slices of watermelon!


I then arranged everything to create my book mark.  The glitter card stock I have is great!  I used it for the "JUICY" letters. I also just love polka dots - so there they are times two.  

Happy Reading and Happy Soon-to-Be Summer!

Monday, May 12, 2014

Cupcake Birthday Calendar

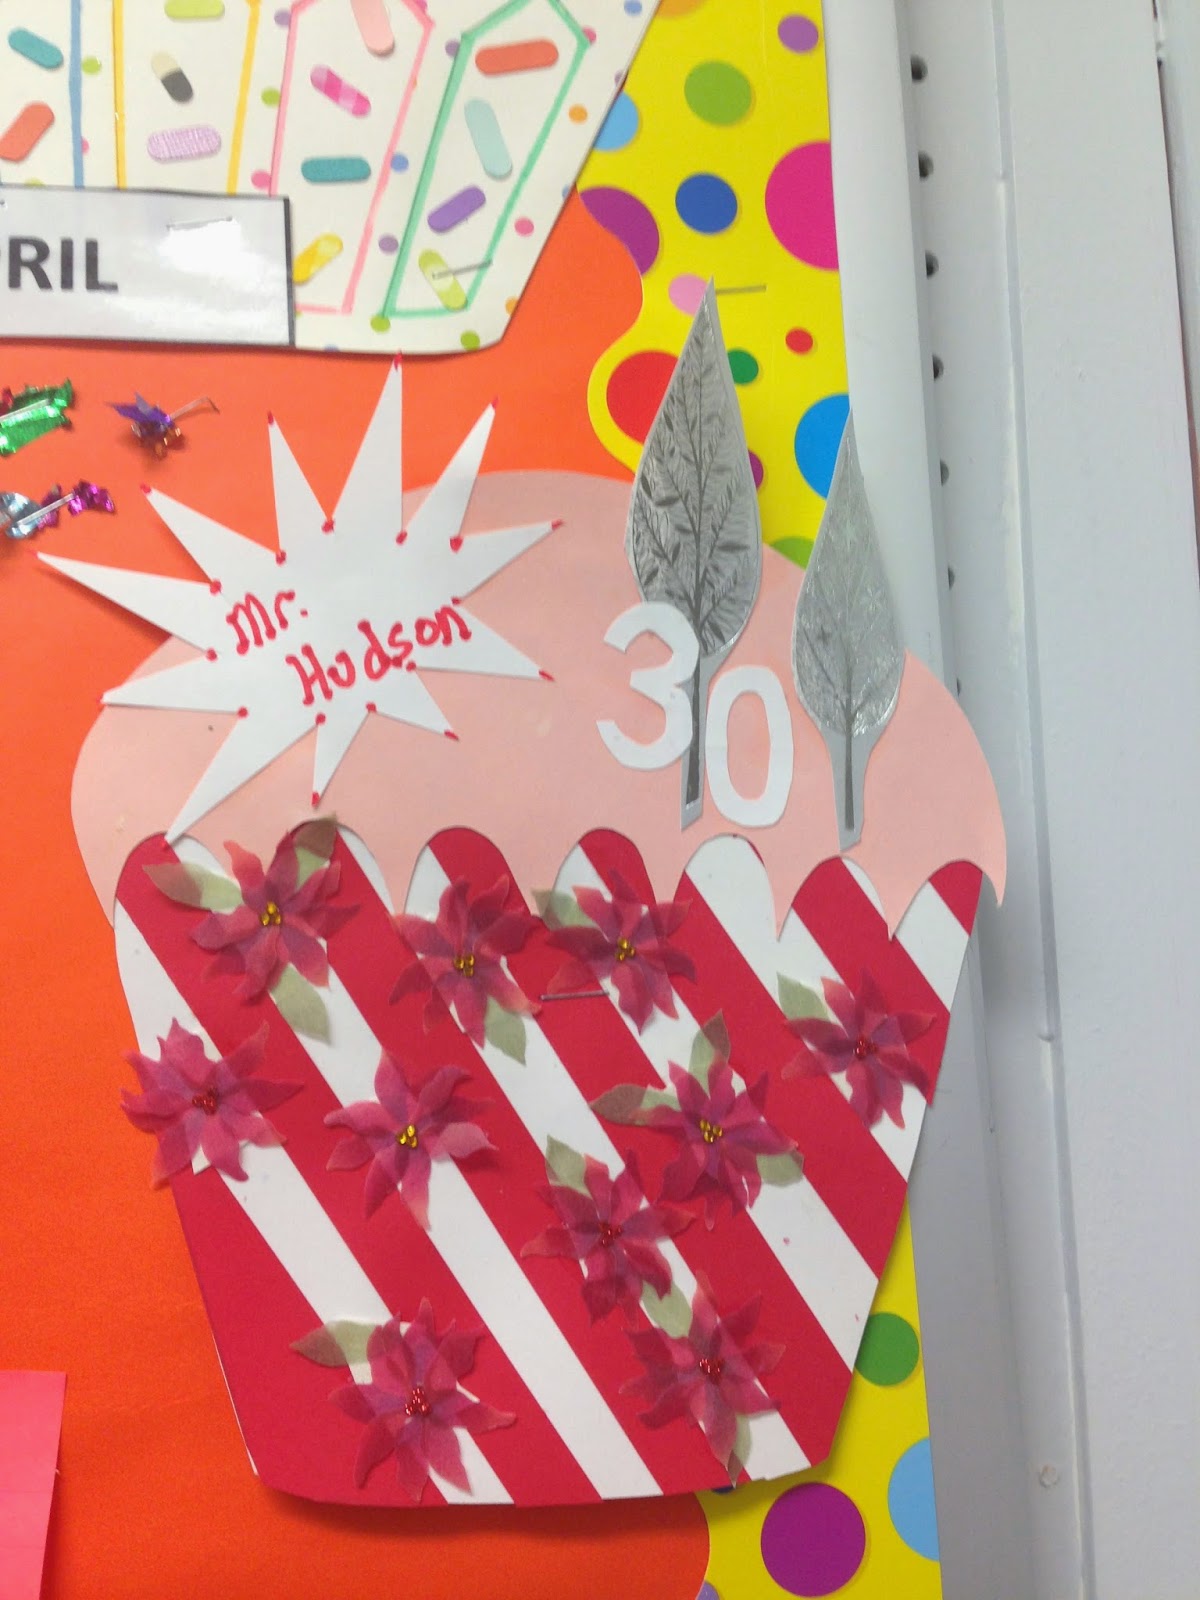
This is a Birthday Calendar on display at work to celebrate the staff!  It's also a model for teachers to make for their Advisory class.  I cut the cupcakes on my Cameo Silhouette, though the Paper Source (I learned later) makes a cupcake garland that could easily be used for such a project.  Everyone got to decorate their own cupcake in their own way!  I provided some doodads and other decorative features.


Sunday, May 11, 2014

A Floral Mother's Day


Firstly, it has been so lovely with the Spring flowers blooming, that I definitely wanted to capitalize on that to celebrate Mother's Day.  I used flowers as a theme for a Mother's Day brunch with my mother and grandmother.  For the invitation, I cut the flowers using my Cameo Silhouette: 


In keeping with the flower theme, I decided that the "piece de resistance" of brunch would be a cake covered in flowers.  I decided to experiment with fondant (this was my first time). It was a lot of fun and now that I got my hands dirty, I'm not as afraid to use it and I know the basics.  I decided to go with bright, bold colors, like the colors of the flowers I have seen in the pictures above.  

The first step was dying the white fondant.  I dyed it an array of garden-flower colors: 


I then used fondant cutters (like cookie cutters) to cut out various flowers.  I also experimented and made some roses.  I did this several days early, put the flowers in a cardboard box and placed them in a dark space to store them.  This way they were out of the light so the bold colors did not fade.  Before placing the heavier flowers in the box, where they would harden over the next few days, I put several toothpicks into the flowers while they were soft so that I could easily stick them into the cake when my cake was baked.  

I then baked the cake.  I used a round cake pan that basically allows you to bake a cake in the shape of a ball. When it was cool, I cut it into four layers and used buttercream to ice the layers together.  I then iced the entire cake with buttercream.  

It was then time to apply the fondant  

I dyed a whole mess of fondant "buttercup yellow."  You dye fondant by taking a toothpick and sticking it in the dye, you then pierce the fondant in various locations to get the dye in there.  Then you use your hands to knead it until all the fondant turns the desired color.  At this point the fondant gets really tacky, like salt water taffy.  After I was done, I "floured" the fondant and my rolling pin with confectioners sugar and rolled it all out.  I then picked up the sheet to cover the cake.  It goes on pretty smoothy.  I then cut around the bottom of the cake and tucked the fondant as far under as possible. 

I made a batch of Royale Icing and dyed it "Kelly Green."  I decided to use the Royale Icing to affix the flowers, but also to pipe vines and maybe leaves around the cake.  Since the cake was round, it was really important to affix flowers on there with something strong so they wouldn't slide down the side of the ball.  

Decorating the cake with flowers was probably the most fun part!  I really loved the roses that I made.  I have a package of gum paste and I would be interested to see how that's different to work with.  I feel like it might make more delicate flowers. 

Anyway, here is the final result... let's see what happens next time!


"I Wuff You" Acryllic on Canvas


I made this acryllic on canvas for my grandma. I love black and white dogs and have sort of dreamed about drawing black and white dogs on different bright colored backgrounds, maybe doing different things.  Haha... so this is a start ;).  Woof Woof.

Holiday and Birthday Garlands!


So this door sign (above) was from the holidays (obviously I'm late to post), but you can really make a sign like this for any occasion or non-occasion to Welcome people to your door.

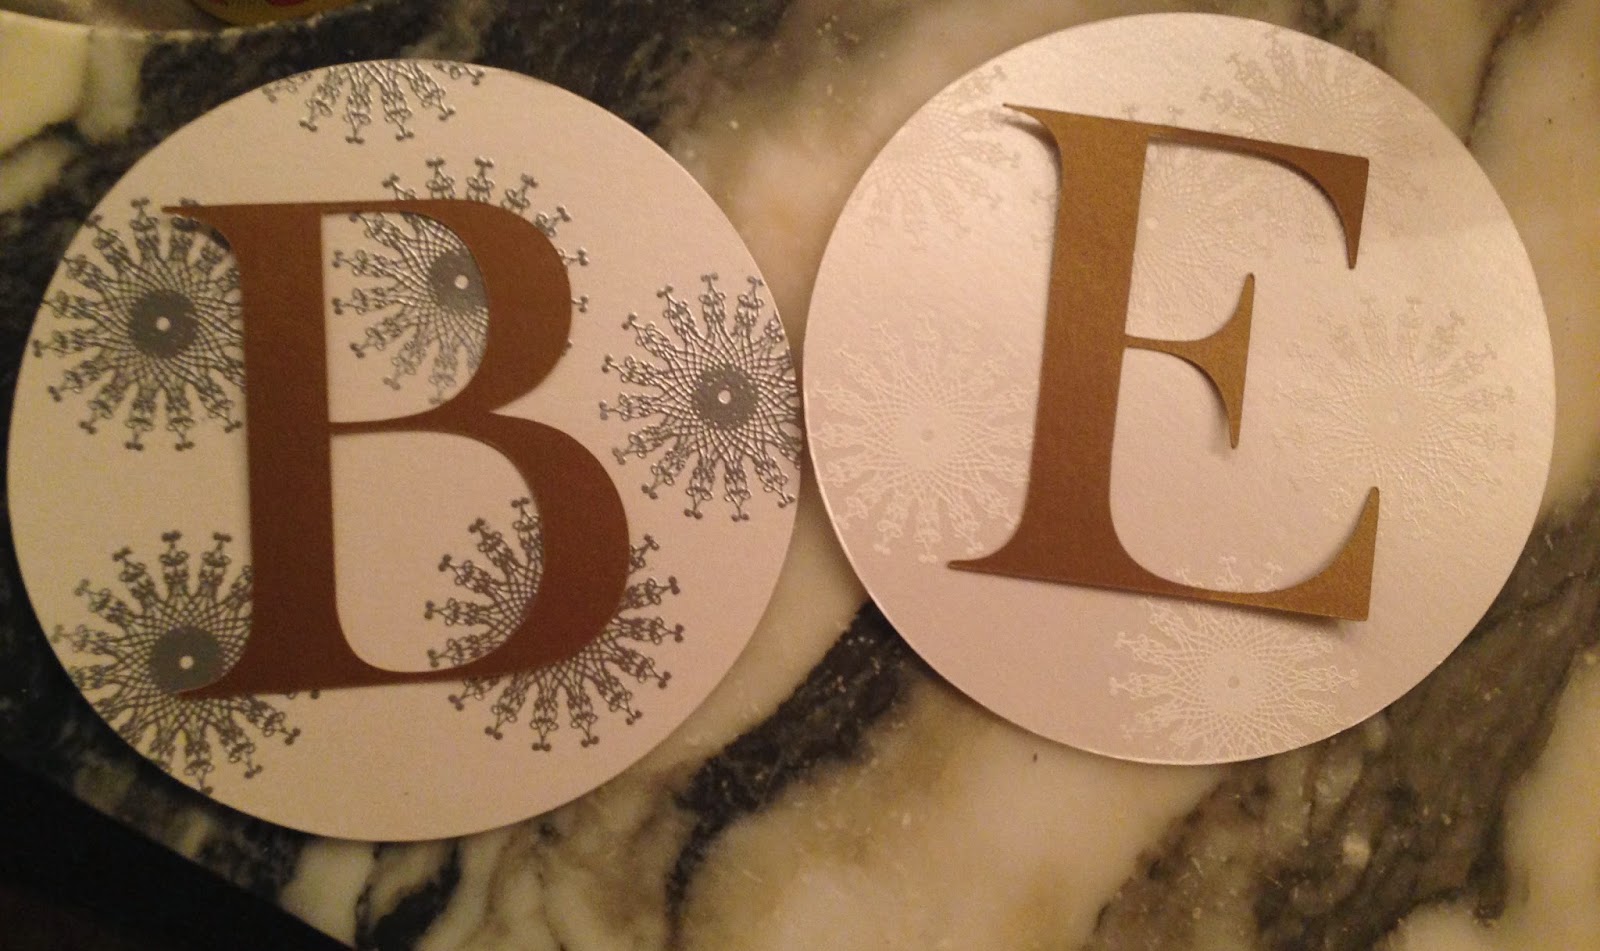
For this project, I used all Paper Source materials from paper to stamps to glittery Christmas trees (these are clothespins in between the letters as you can see in the second picture.  They added a nice touch to the door).

I used the Cameo Silhouette to cut the letters out of gold paper.  The silver and gold looked elegant and I alternated between embossing the snowflake stamp with silver embossing powder and white embossing powder on every other letter.  I bought card stock pre-cut into circular patterns so that was something I didn't have to do.  I hole punched the tops of each letter so I could string a sparkly yarn through.  I then used clear packing tape to literally tape the yarn to the inside of the door.  When you're hanging something like this alone, it's always a fun trick to test your agility and reflexes as you weave the yarn through the crack in the door, hold it with one hand and hold the sign on the other side of the door with the other hand so the letters don't fall to the ground.

Overall, I really like having something on the door to celebrate each season.  Paper Source has amazing pre-made garlands of cupcakes, popsicle sticks, owls, acorns, leaves and many other things you wouldn't have thought about.  They also sell paper wreath-making kits, some of which are gorgeously intricate.  Though you could make and customize those yourself on the Silhouette, you have to buy a lot of paper and it's a lot of time on the machine - so I like this short cut.

Here is a link to some adorable garlands (many - like watermelon! -  perfect for the summer) : http://www.paper-source.com/cgi-bin/paper/kits/garland/all.html
And here's the link to several flowered wreaths:
http://www.paper-source.com/cgi-bin/paper/kits/flower-kits.html

This next hanging banner was made for my friend, Pam's, baby's first birthday party!  Since the theme of the party was New York, the sign is modeled after the NYC Subway markers, using those same colors and the circles they are displayed in.  (Isn't the cake with the skyline amazing?  Love!).  I also made little taxi cab and Statue of Liberty cupcake toppers, which are pictured below: